×
Sign in
Sign in to save favorite properties and equipment, save your search parameters and more
Don’t have an account yet? Sign Up Now
Sign up
Already have an account? Login Now
Sign in
Sign in to save favorite properties and equipment, save your search parameters and more
Don’t have an account yet? Sign Up Now
Sign up
Already have an account? Login Now
Sign in
Sign in to save favorite properties and equipment, save your search parameters and more
Don’t have an account yet? Sign Up Now
Sign up
Already have an account? Login Now
Sign in
Sign in to save favorite properties and equipment, save your search parameters and more
Don’t have an account yet? Sign Up Now
Sign up
Already have an account? Login Now
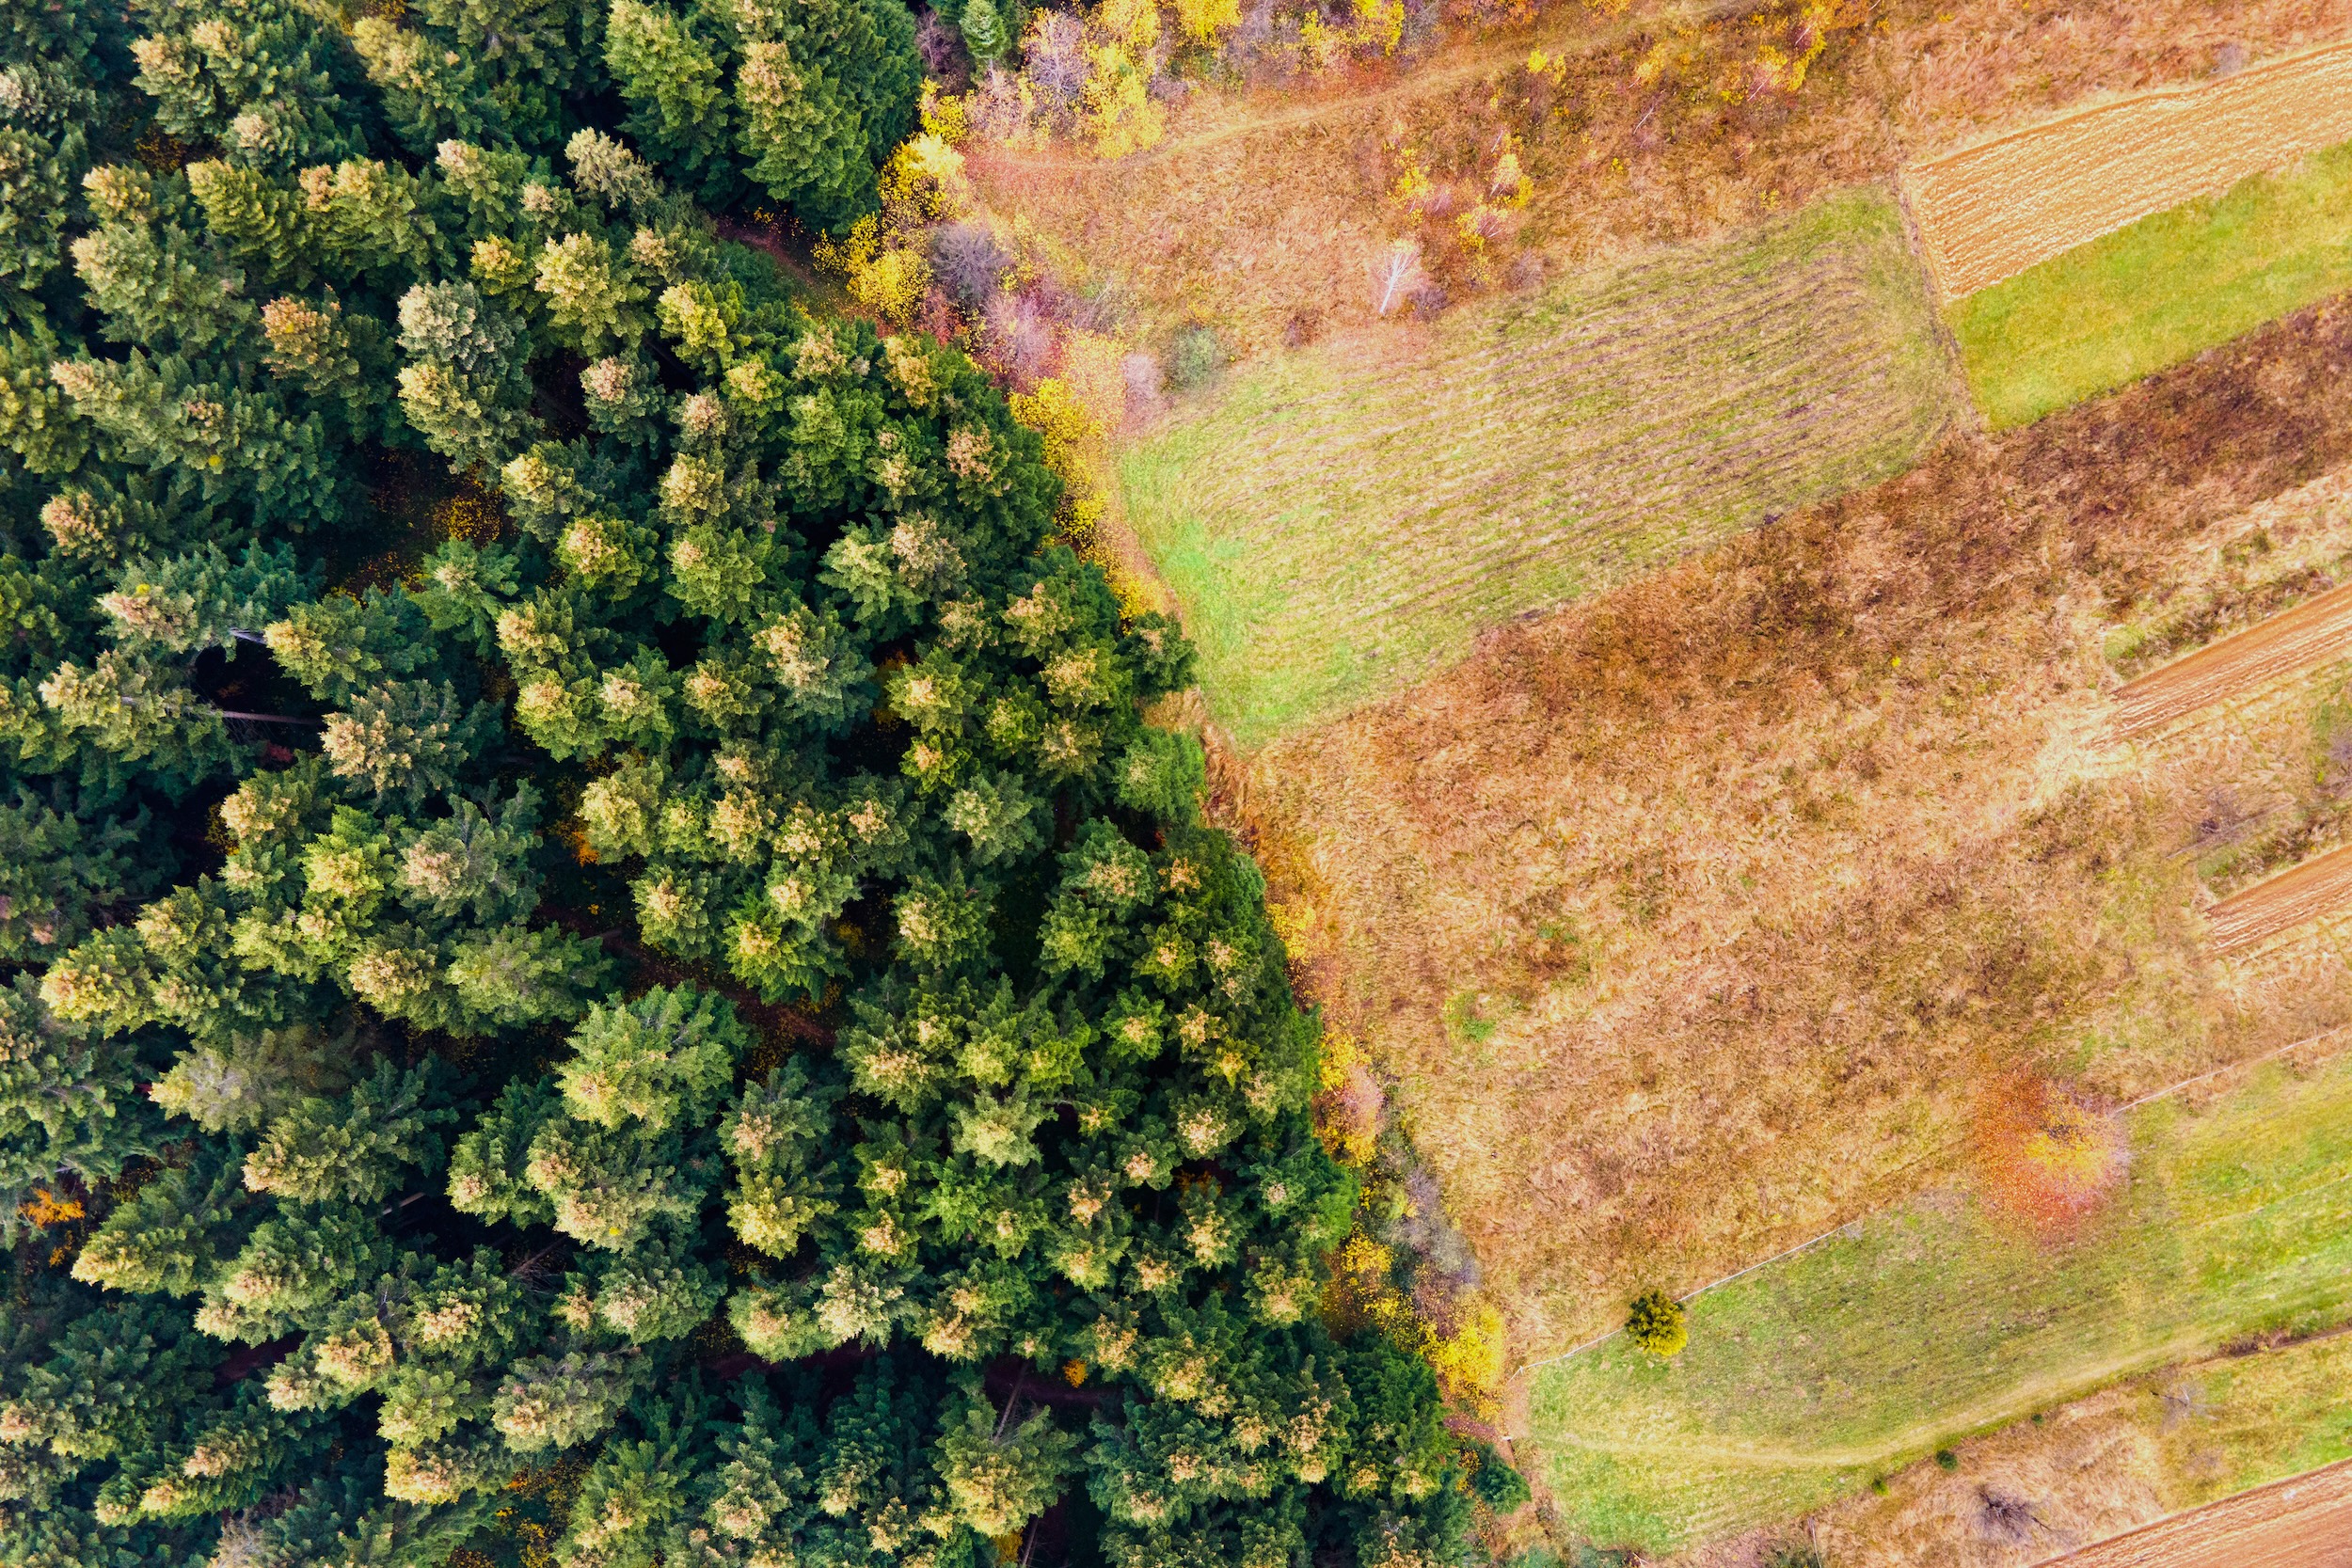
Whether you’re preparing a homesite, creating pasture, or developing recreational property, knowing how to clear land properly is a critical element to using your property to the fullest. Clearing ground involves more than simply removing trees and other plant life. It’s about understanding the right methods, timing, and techniques that will save you money while protecting your investment for years to come.
At Hayden Outdoors, we specialize in making the most out of life on the land. We regularly work with landowners looking to optimize the usage of their property, whether it’s clearing space for their cattle ranch or simply increasing the value of their acres.
Our guide will walk you through everything you need to know about land clearing, from choosing the right method to executing each step with confidence.
The time required for land clearing varies dramatically based on several factors. Professional crews can clear anywhere from one to fifteen acres per day depending on the method and conditions, but understanding what influences these timelines can help you plan realistic schedules.
Vegetation density plays the largest role in how to clear land efficiently. Light vegetation with sparse brush might take just 1-2 days per acre for a professional crew. Moderate density with mixed brush and small trees can extend this timeline to 3-5 days per acre. Heavy forests with large mature trees can require 1-2 weeks per acre when using traditional land clearing methods.
The type of equipment makes an enormous difference in how long it takes to clear land. You can expect forestry mulchers to process 1-3 acres per day when dealing with moderate vegetation, while large commercial mulchers are capable of taking on 15 acres daily (assuming ideal conditions). Traditional bulldozing and grubbing typically clears 1-3 acres per day depending on tree density.
Terrain and accessibility also affect how long it takes to clear land. Flat, easily accessible land clears faster than steep slopes or rocky terrain. Wet or frozen ground creates different challenges, depending on your region and season. Areas requiring careful navigation around obstacles or preservation of specific trees naturally take longer.
Ground Clearing Pro Tip: For DIY projects, we recommend multiplying professional estimates by three to five times. A quarter-acre with light brush might take several weekends for a landowner working alone. Larger properties or denser vegetation can stretch into months of weekend work.
Choosing the right land clearing method affects everything from your budget to soil health to how quickly you can use your property. Each approach has distinct advantages for specific situations. Here’s the breakdown:
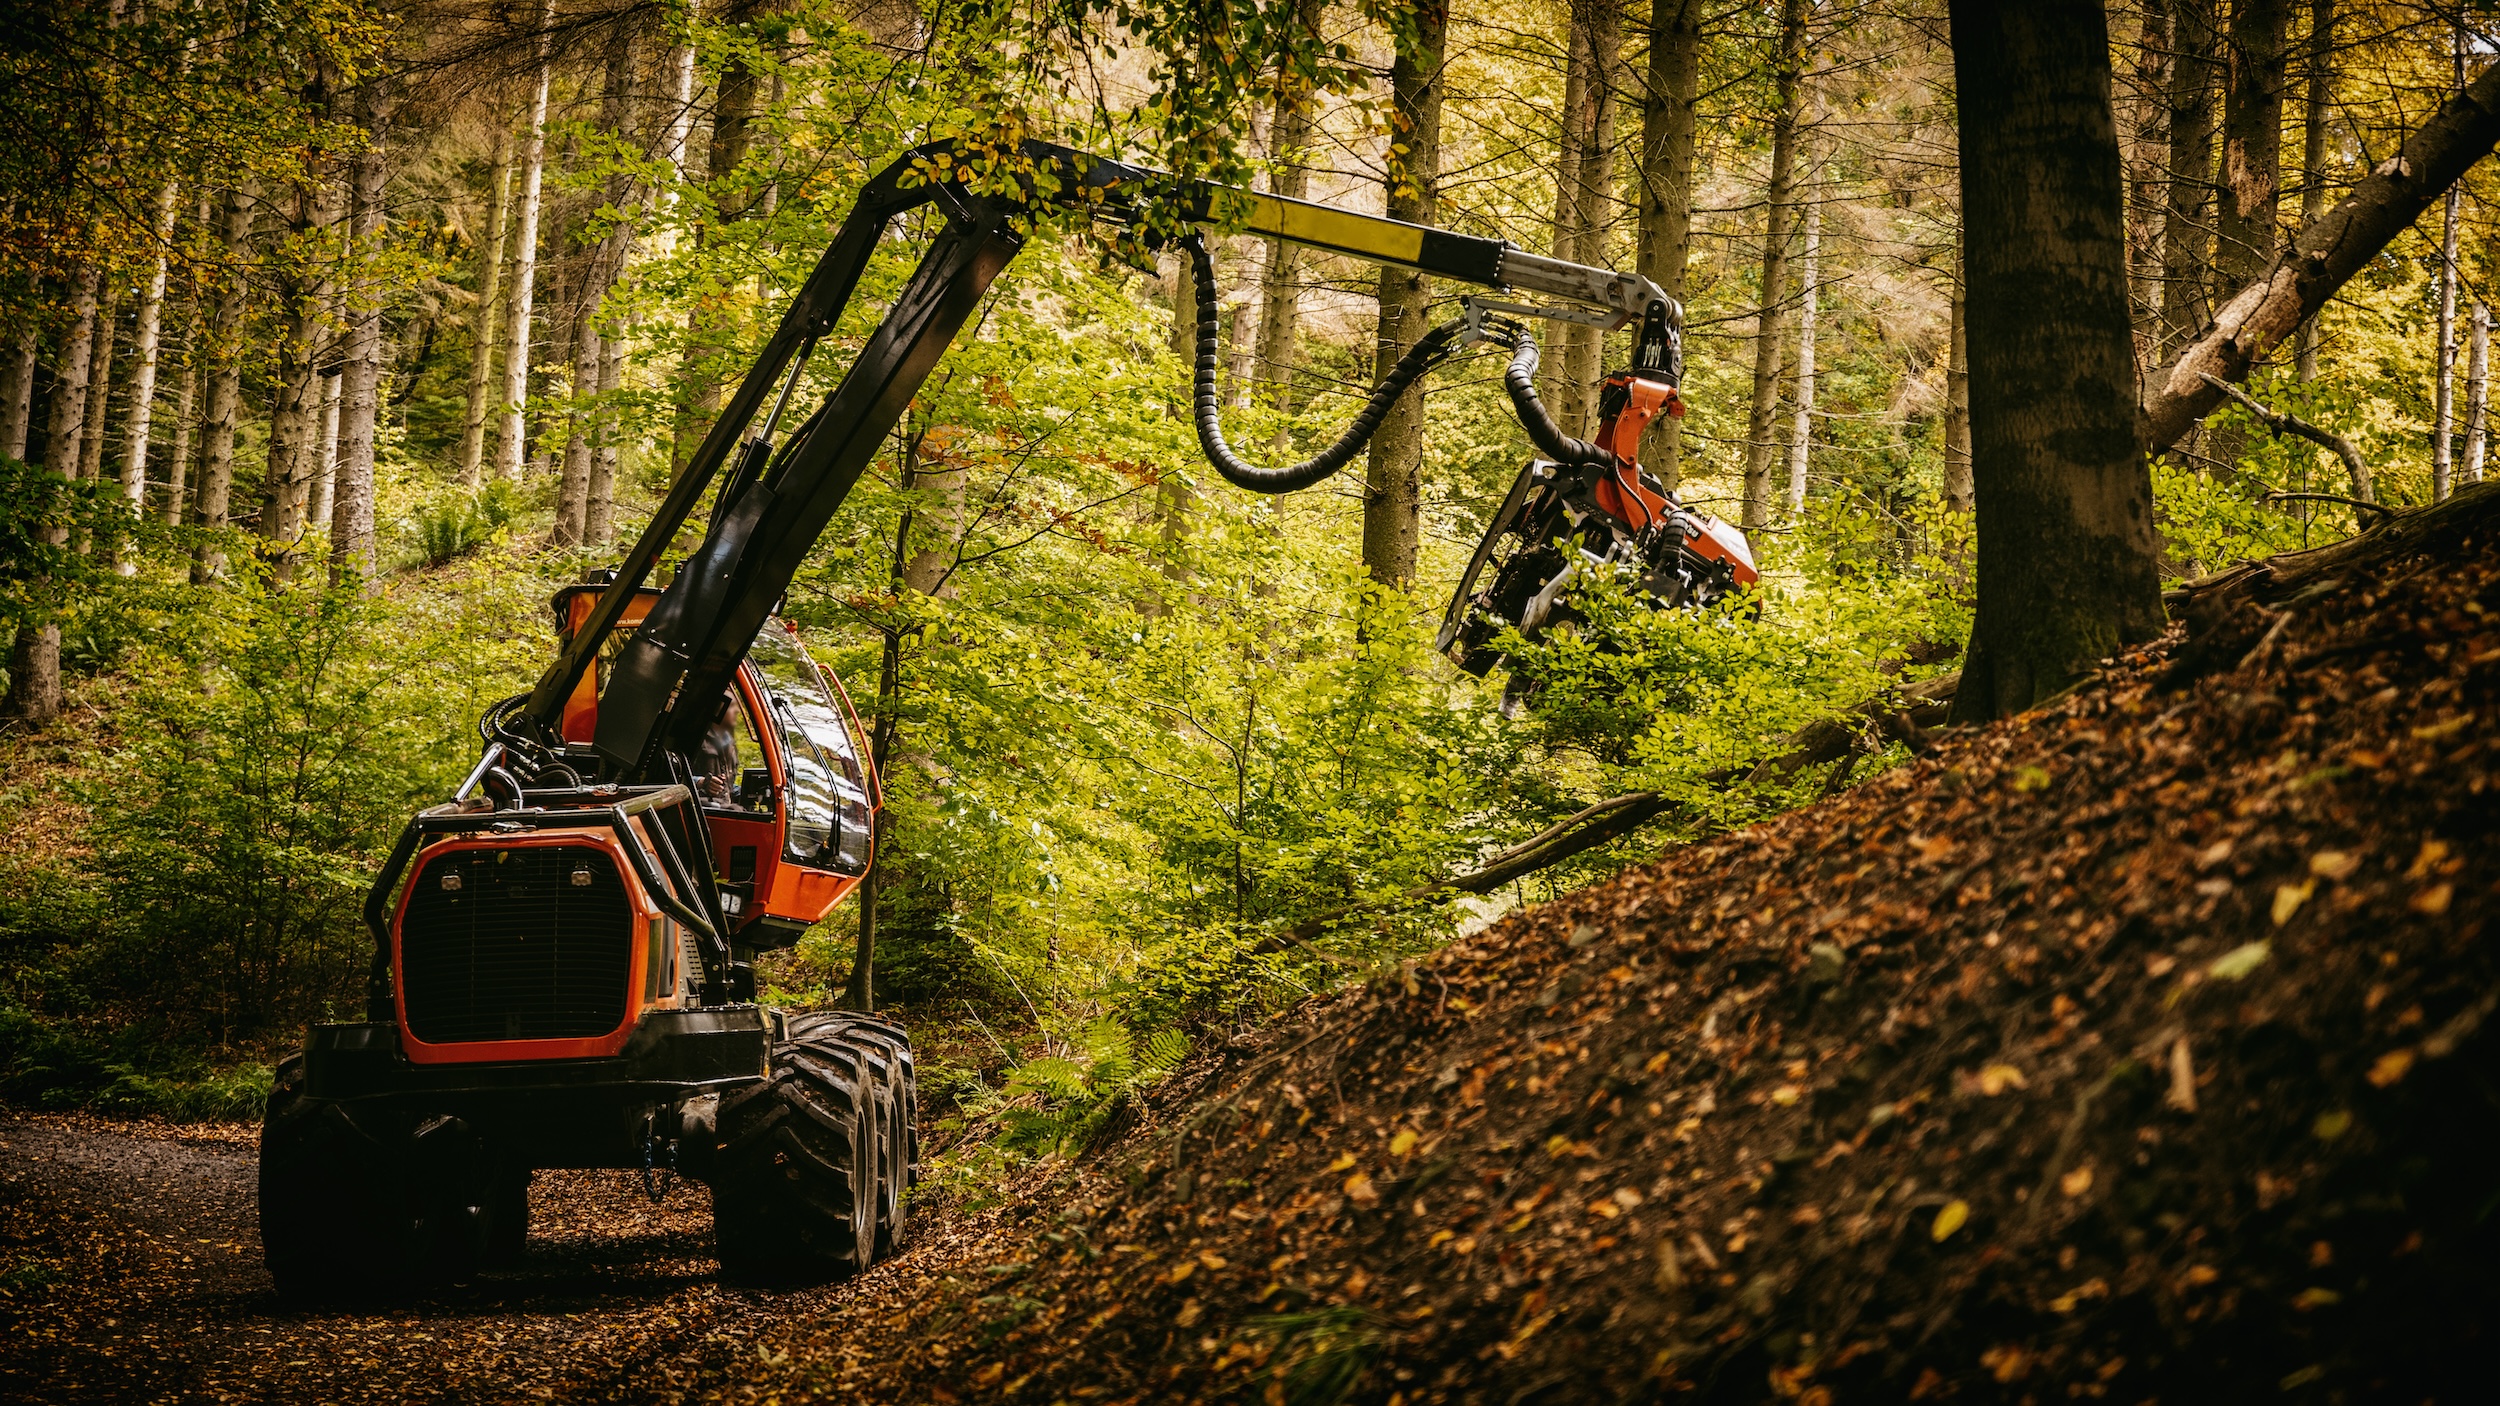
This increasingly popular method uses a single machine to grind vegetation into nutrient-rich mulch that stays on-site. The process involves a rotating drum or disc with hardened steel teeth that shreds trees, brush, and undergrowth into chips.
Forestry mulching typically costs $400-$800 per acre for moderate vegetation, with denser areas reaching $1,000-$2,500 per acre. The method excels at clearing properties where you want to preserve topsoil and prevent erosion. It’s ideal for pasture preparation, fire prevention zones, and recreational land where you’re not building immediately.
The mulch layer left behind when clearing land this way suppresses weeds, retains moisture, and returns nutrients to the soil as it decomposes. However, forestry mulching typically can’t handle trees larger than 8-12 inches in diameter, and you’ll still see stumps at ground level rather than complete removal.
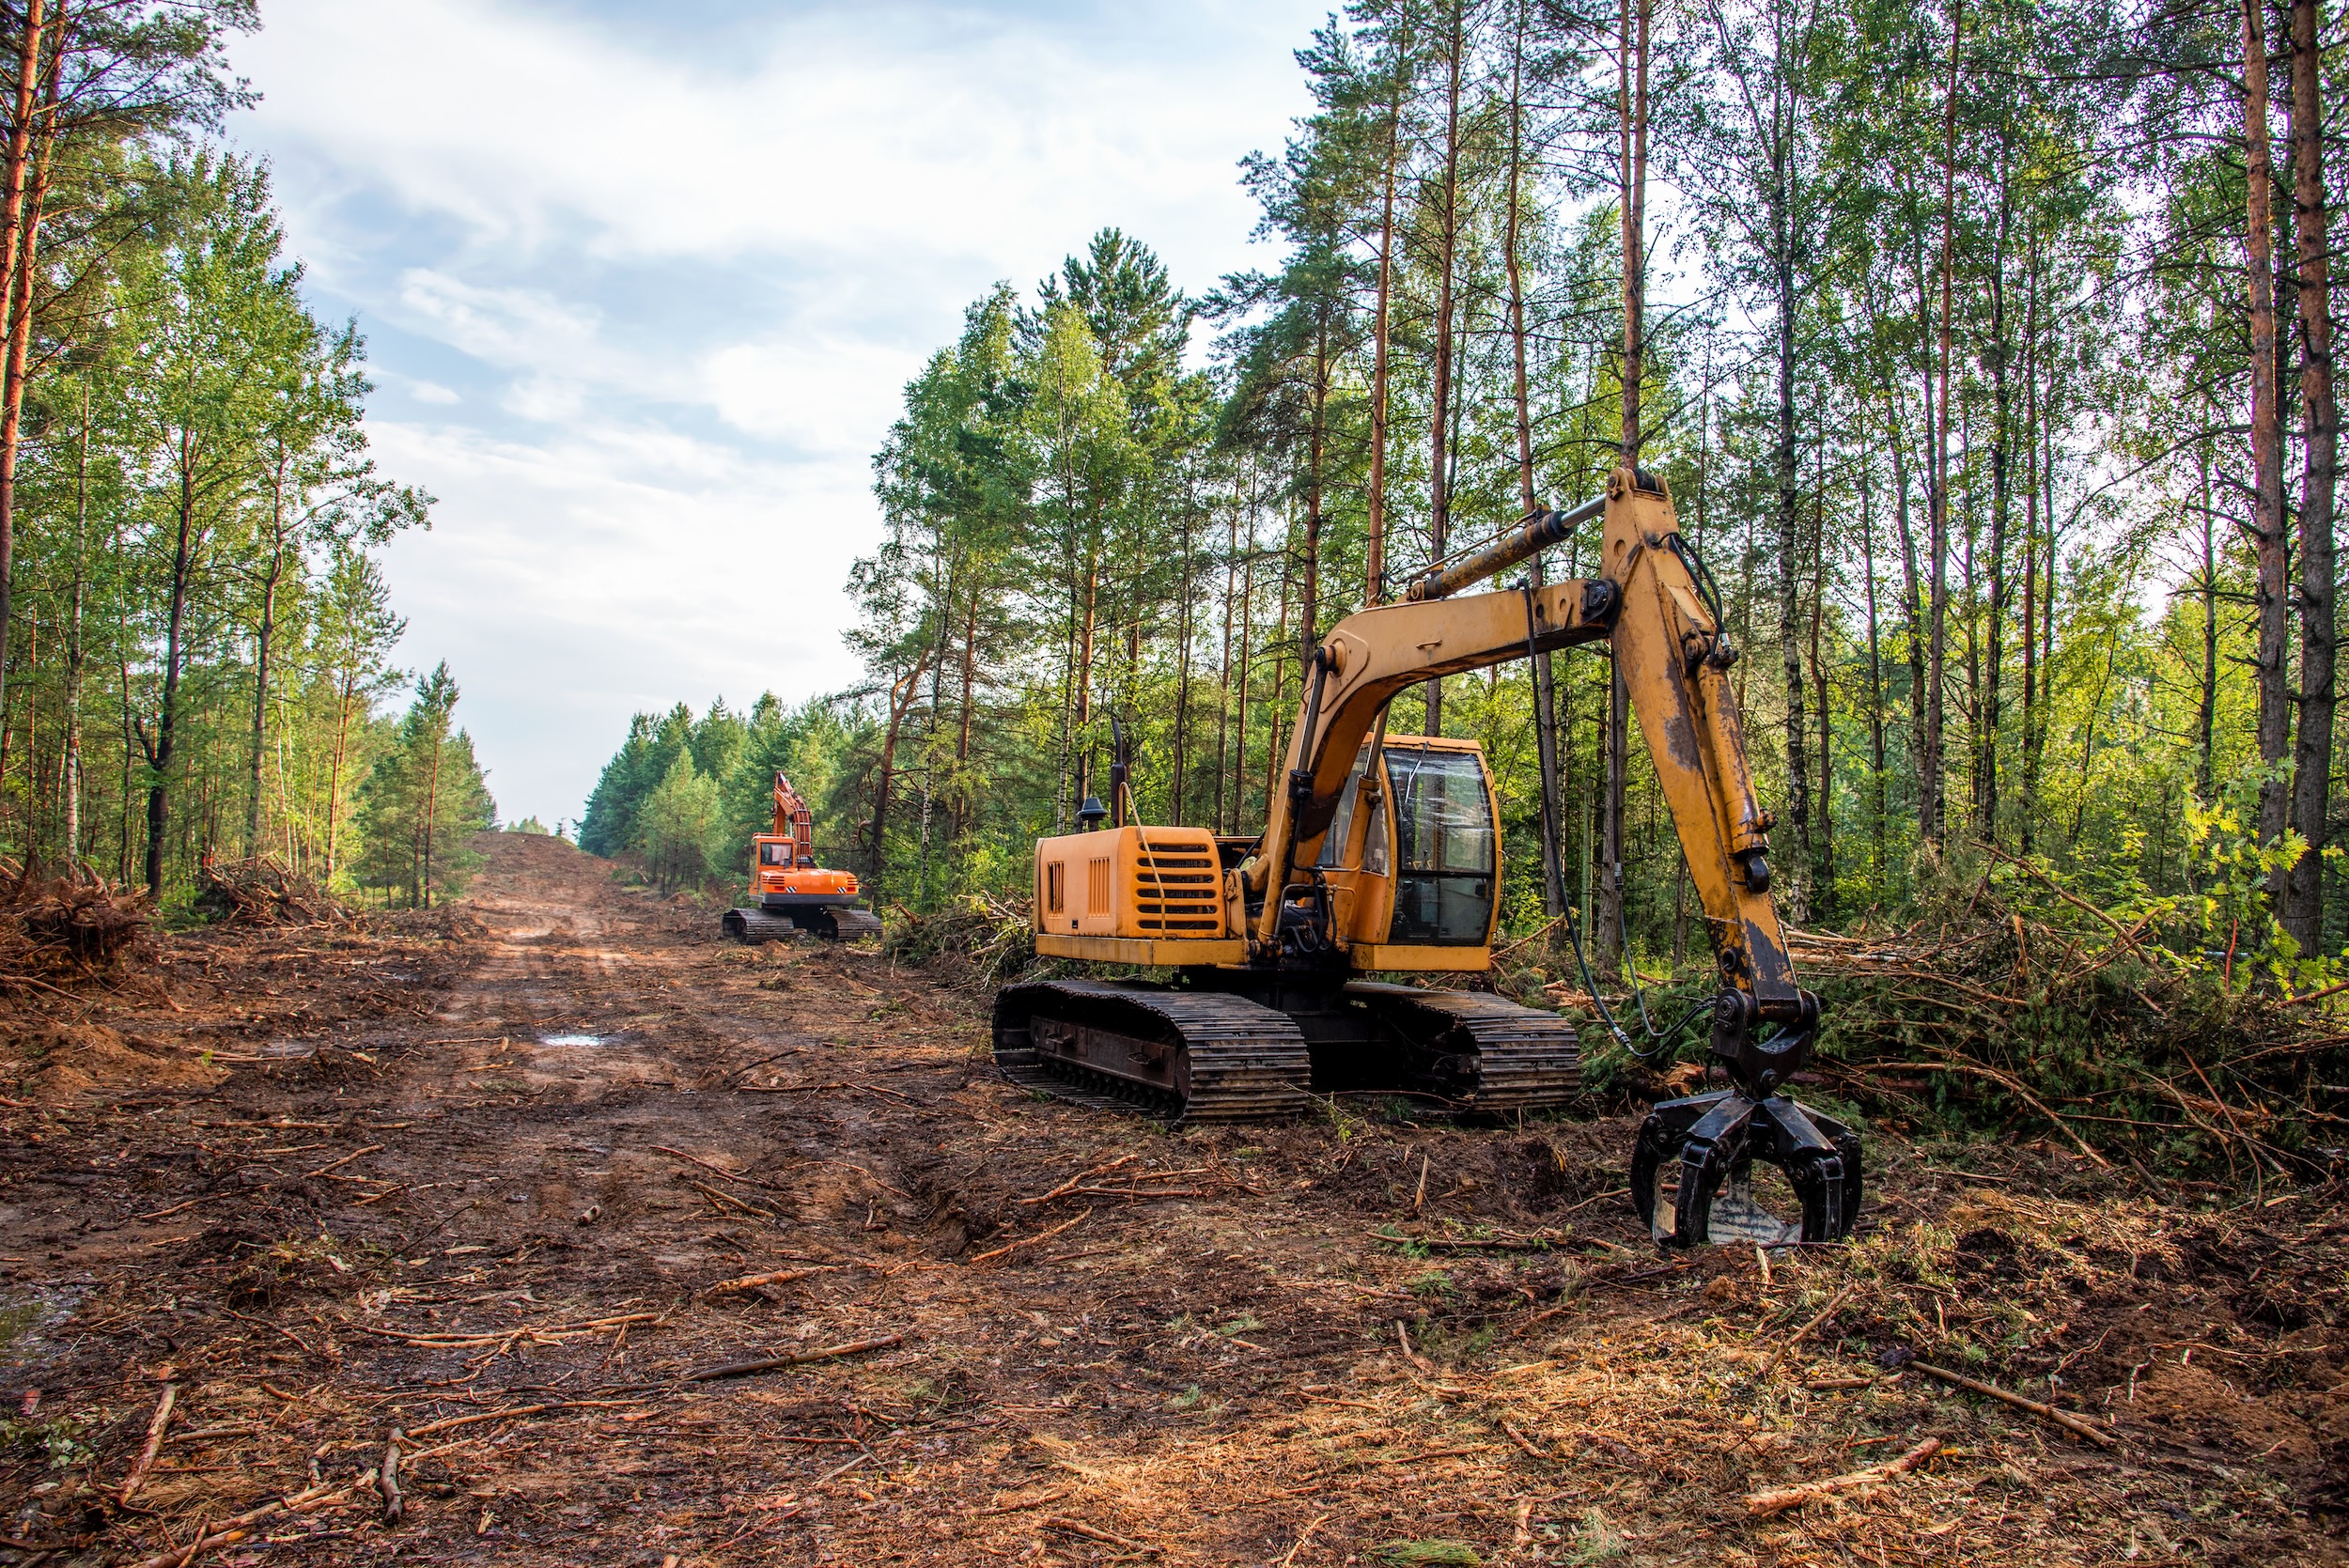
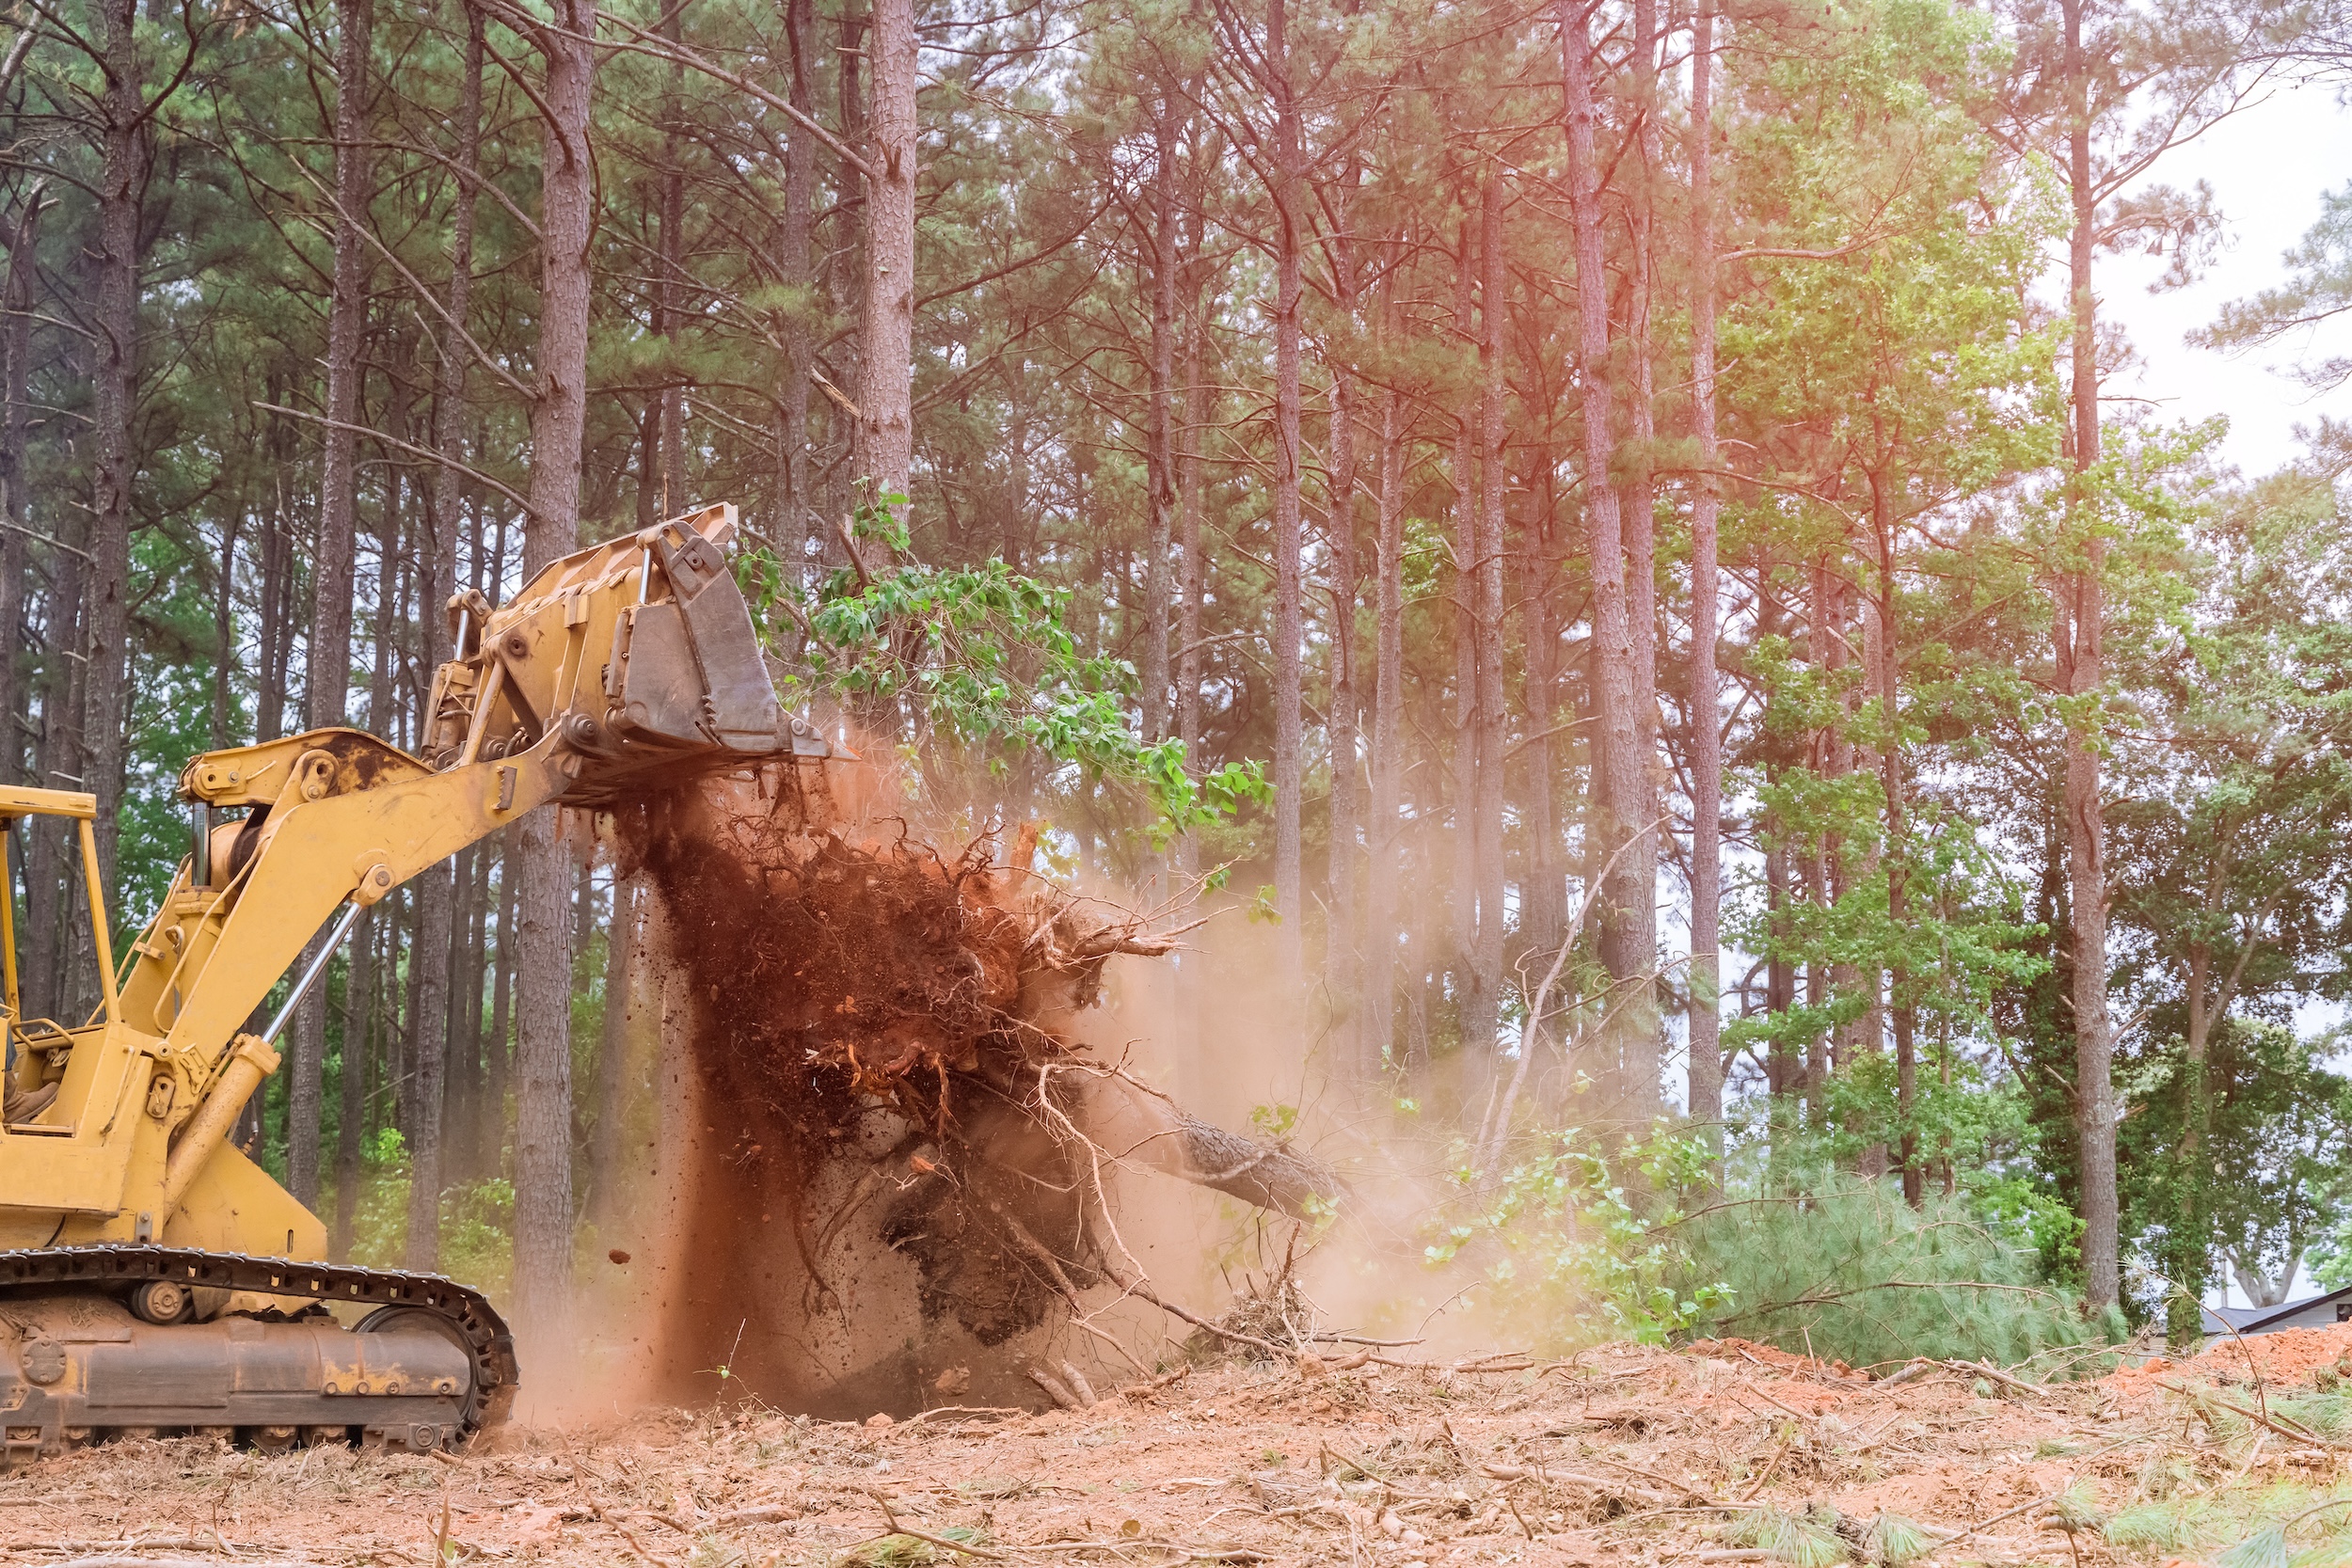
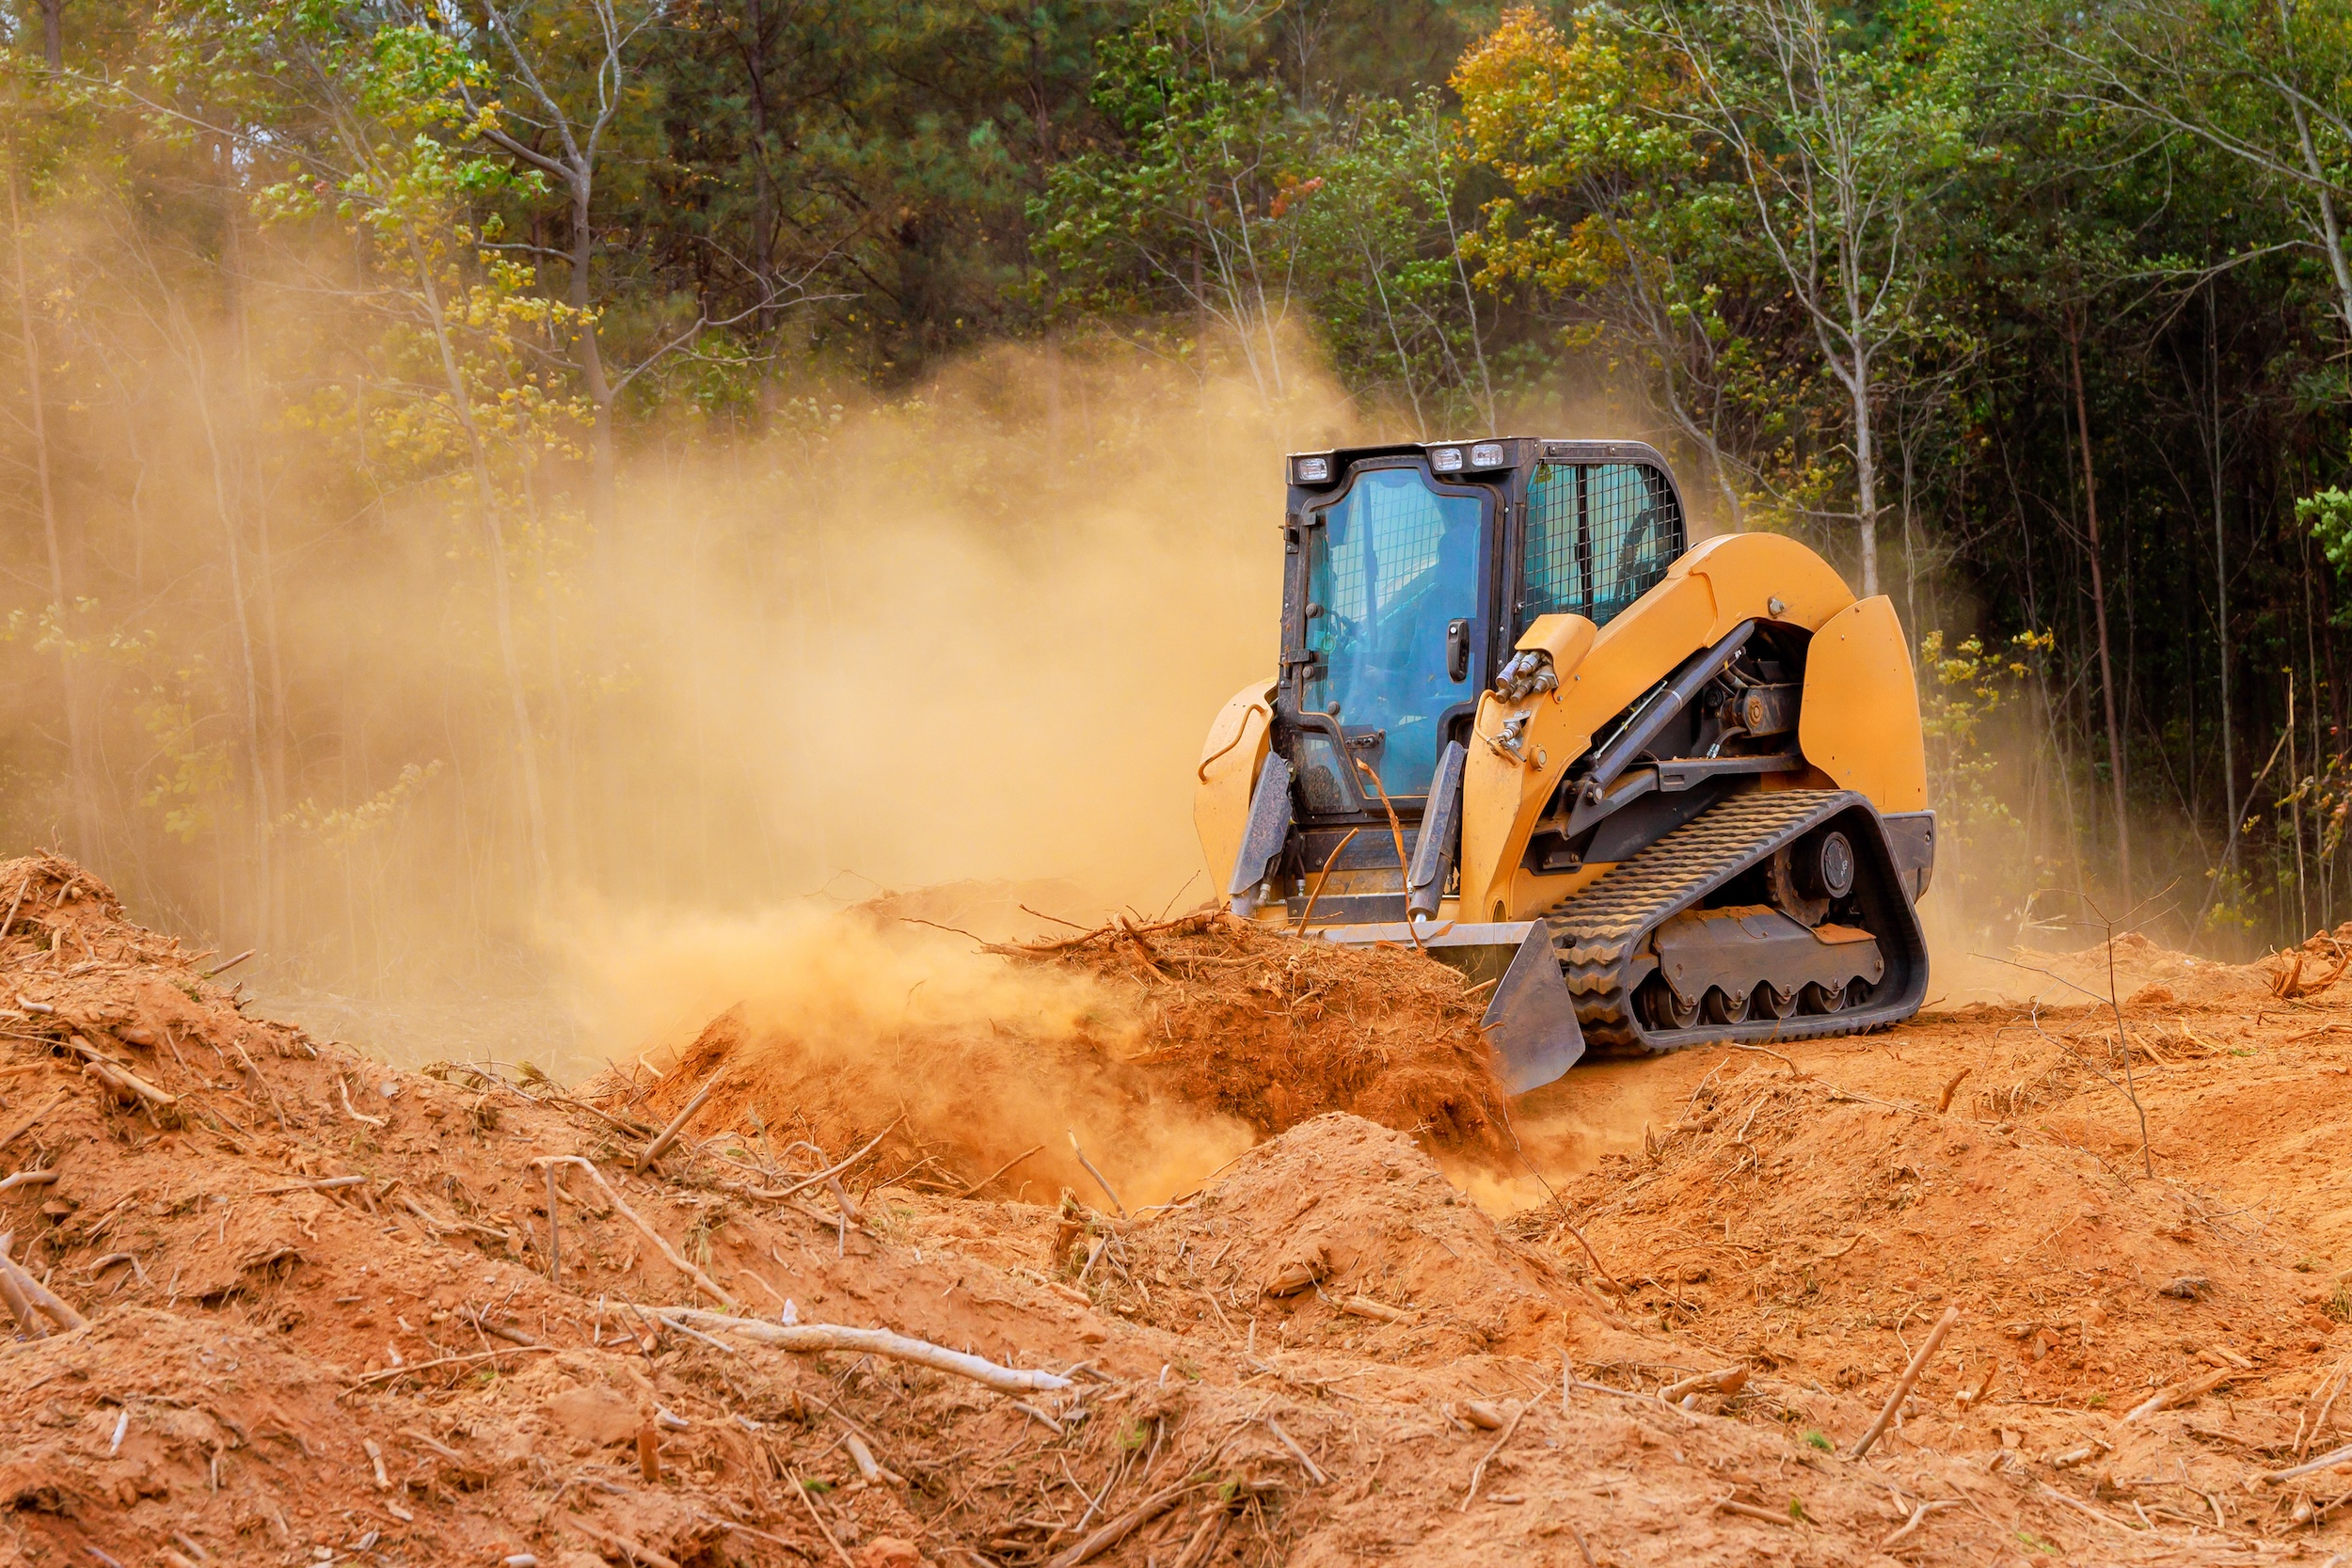
When it comes to how to clear land, traditional bulldozing remains the go-to method for construction sites requiring complete vegetation removal. This approach uses heavy equipment to push over trees and excavate root systems entirely.
The major advantage of this land clearing method is its thoroughness. Everything gets removed, leaving a clean slate ready for grading and construction. Bulldozers handle any tree size and cover large areas quickly. Costs range from $1,500-$5,600+ per acre, depending on vegetation density.
The significant downside is soil disturbance. Grubbing destroys topsoil structure, creates erosion risks, and leaves large holes requiring fill. You’ll also face substantial debris disposal costs unless you can burn on-site or repurpose the material.
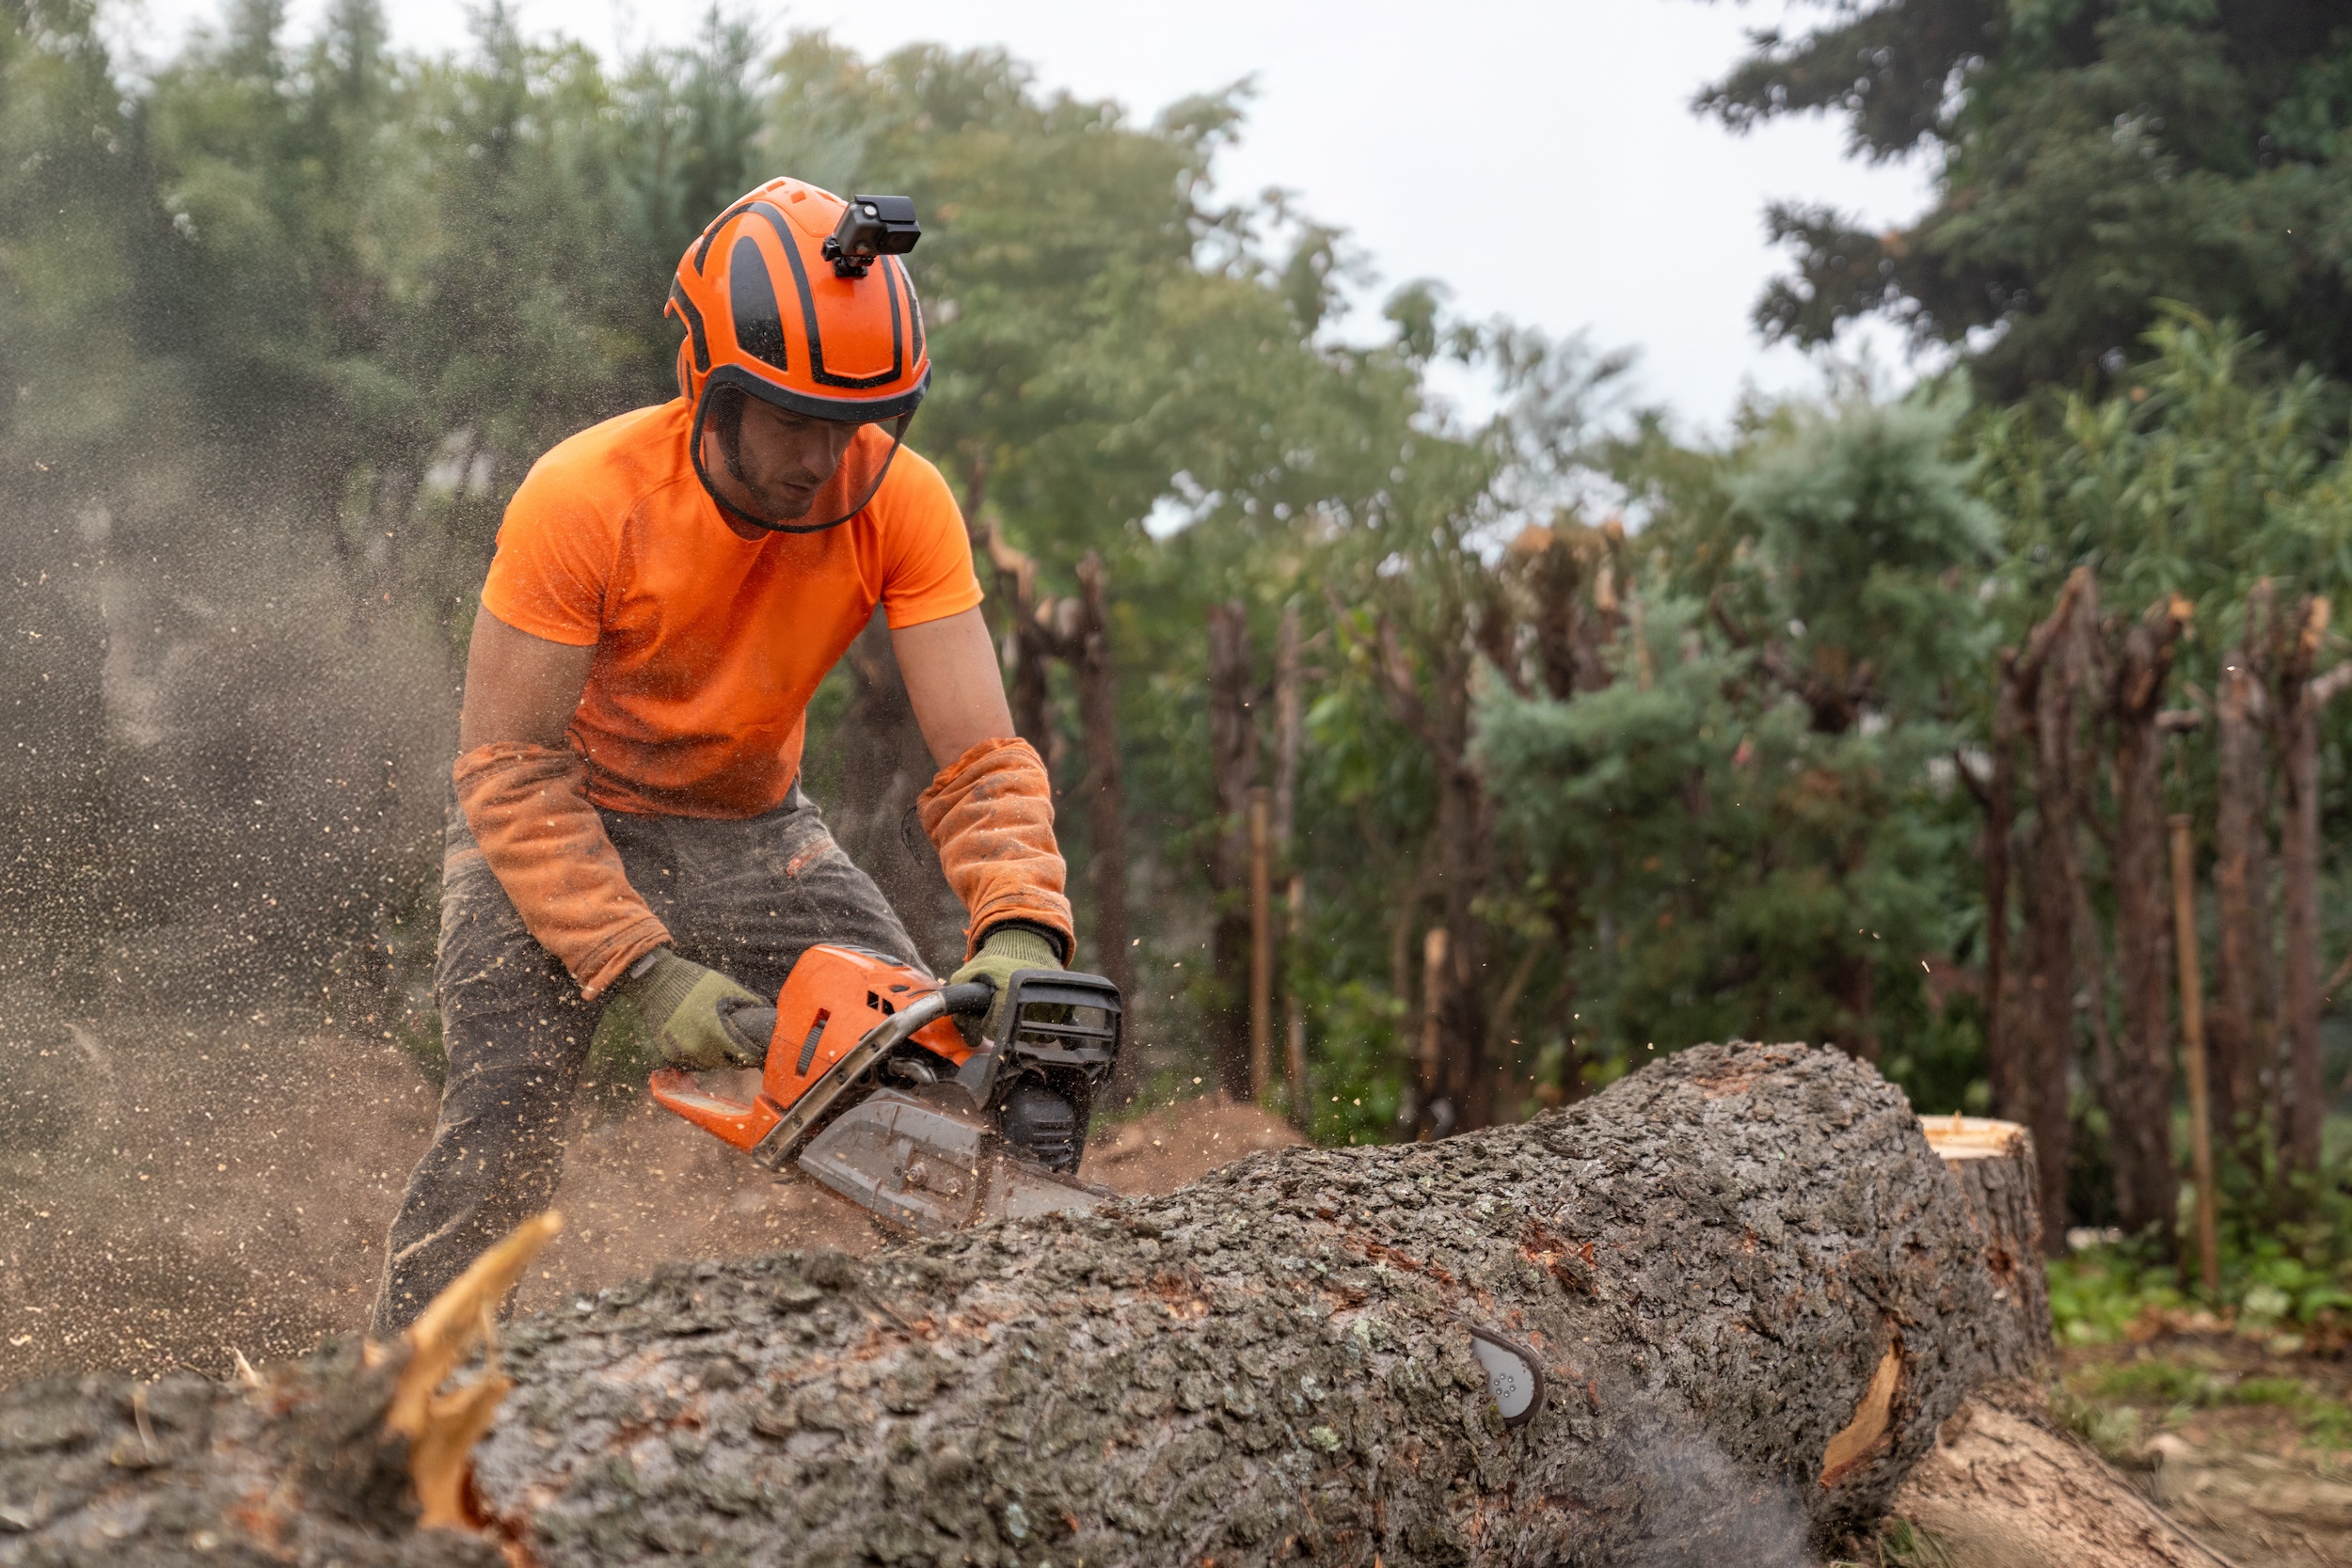
This selective ground clearing method combines chainsaw felling with stump grinding. It works well for lighter density clearing or when you want to preserve certain trees while removing others.
The approach offers more control than bulldozing and less soil disturbance. Professional services typically charge $1,000-$3,000 per acre. The cut and grind land clearing method is popular for residential lots and properties where maintaining existing landscape features matters.
Cut and grind takes longer than other land clearing methods but provides a cleaner finish. Roots remain underground but won’t sprout new growth with proper stump grinding.
For very small areas, tight spaces, or selective thinning, manual clearing with chainsaws and hand tools offers maximum control. This method makes sense for properties under a quarter-acre or for clearing around existing structures where heavy equipment can’t access.
The only significant costs are tools and your labor time. However, the physical demands and time investment make this impractical for larger projects. Most landowners use hand clearing to supplement professional services rather than as a primary method.
Land Clearing Pro Tip: Before clearing land on your property, you may want to consider doing an assessment of available resources and material value on the land. This could include anything from timber to minerals on the property. Extracting resources in the land clearing process can help offset the costs of clearing the ground, and anyone who wants to purchase those resources may assist in covering some of the land clearing costs.

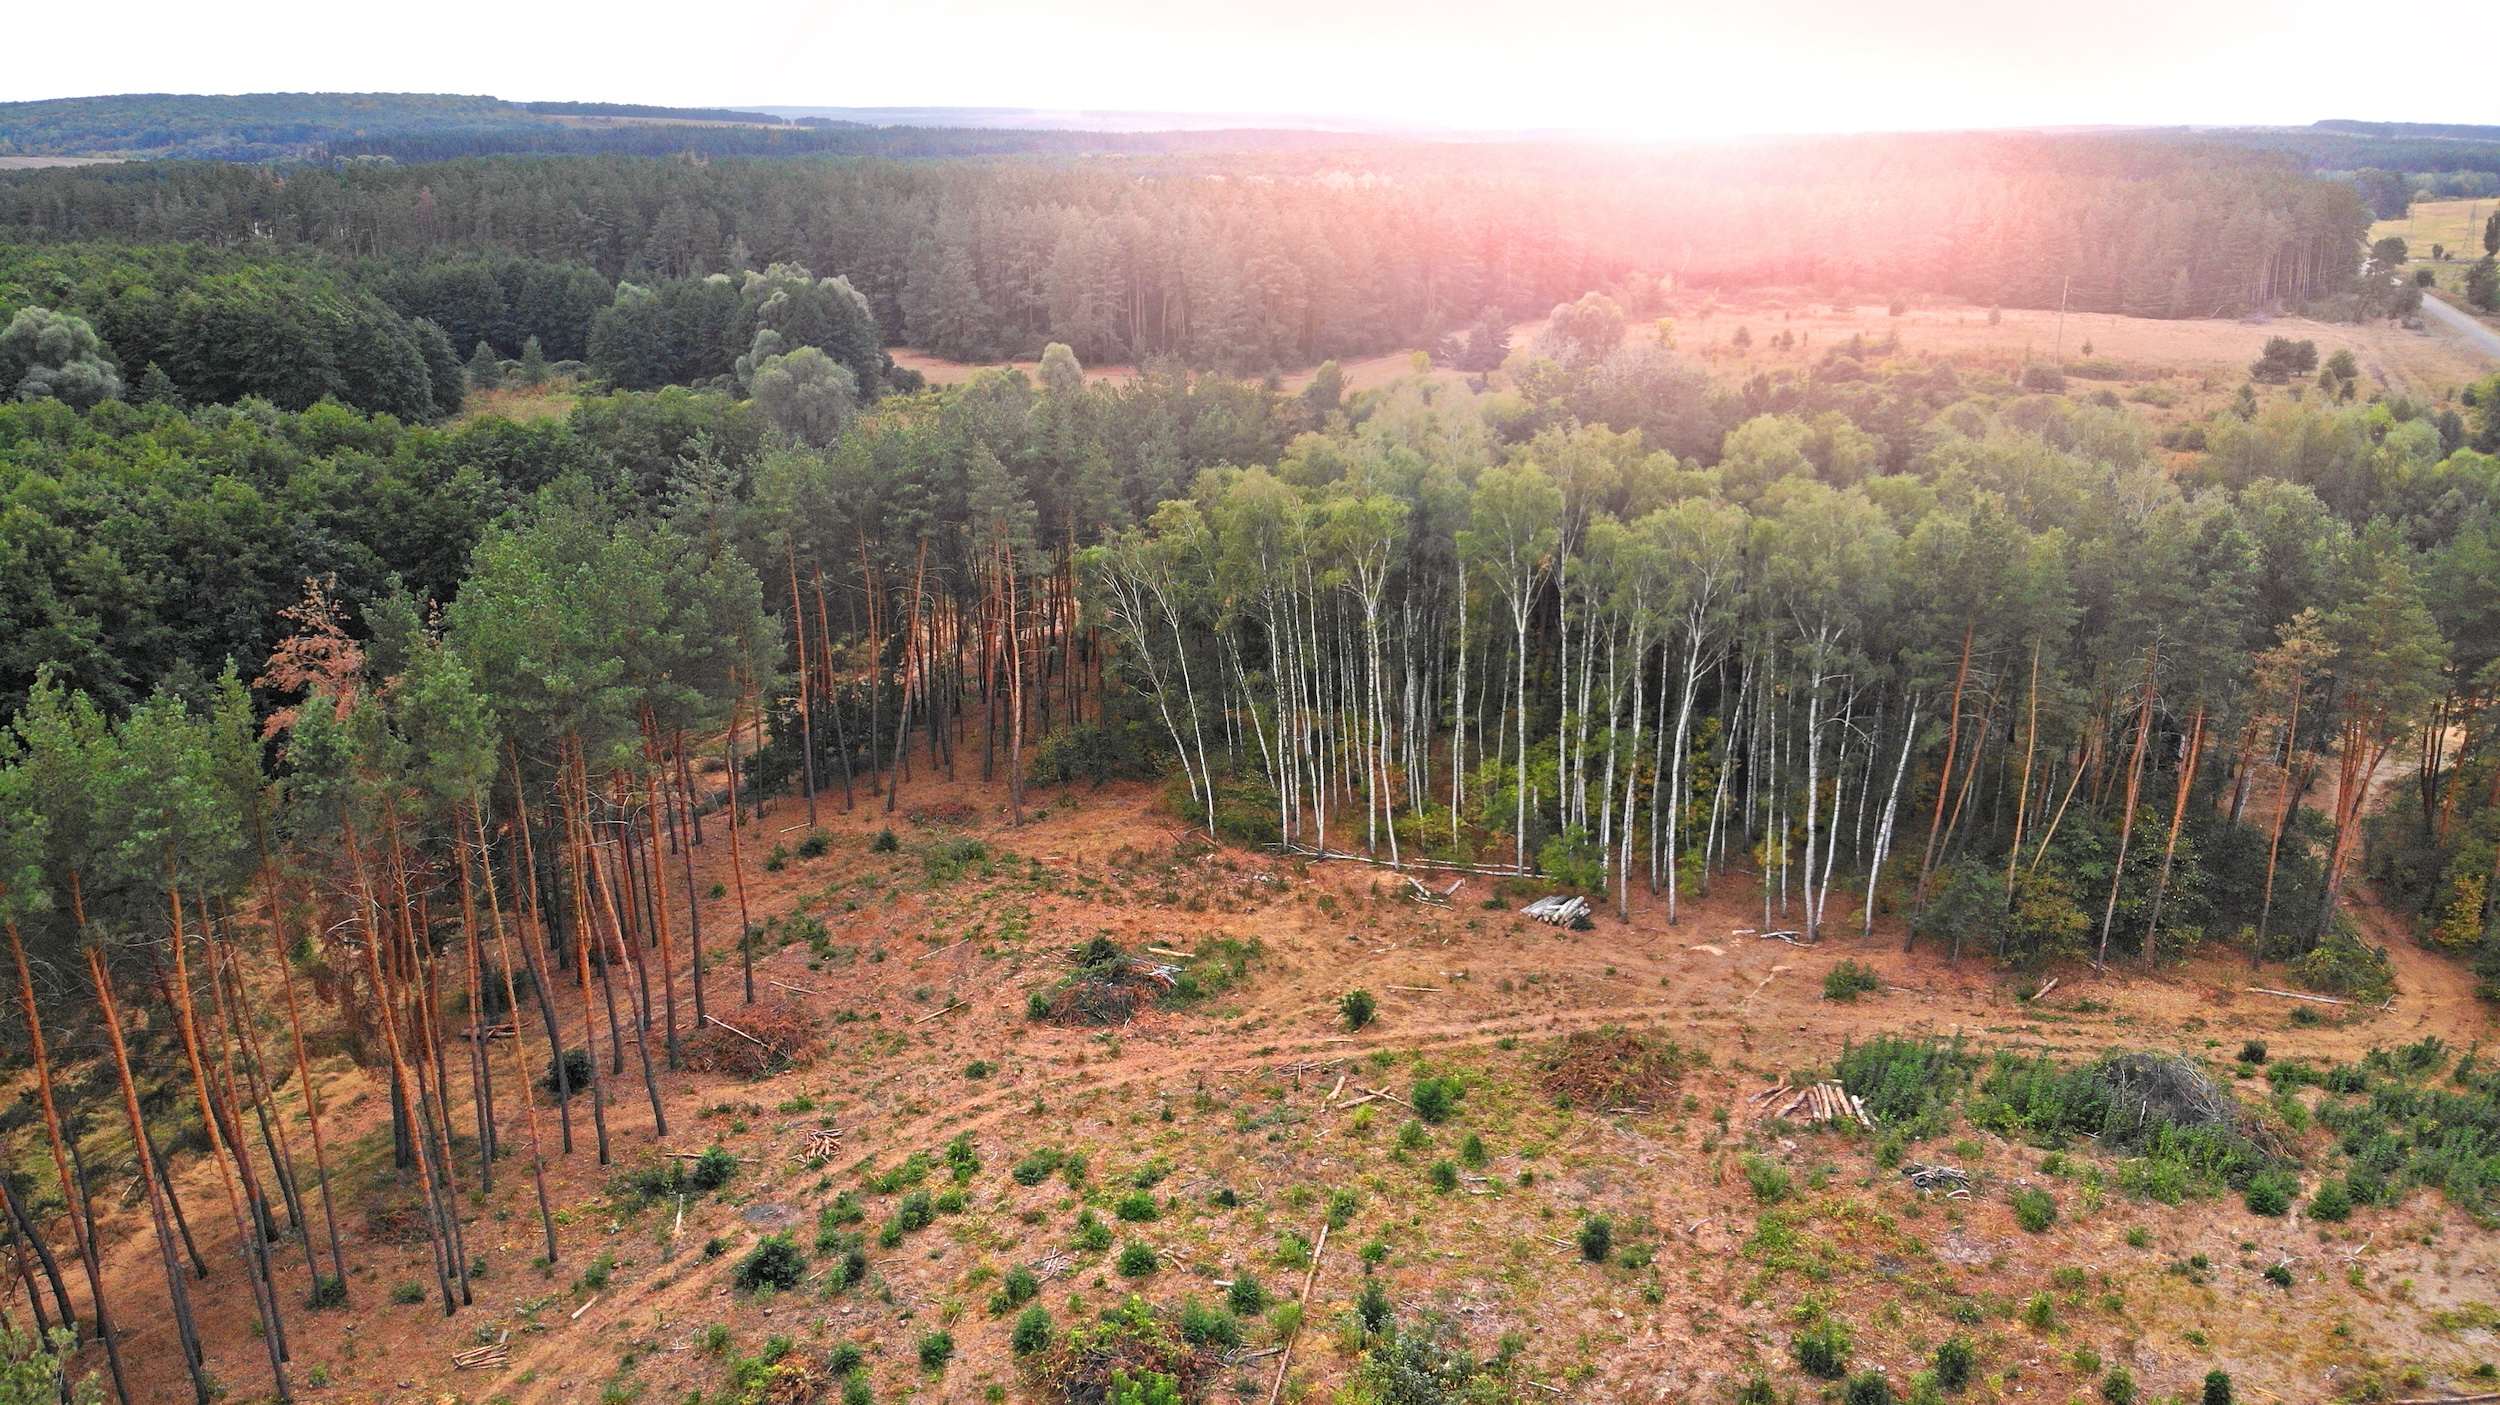
When learning how to clear land effectively, it’s important to keep in mind that seasonal timing affects equipment performance, ground conditions, and overall project success.
Many land clearing professionals consider fall the optimal season for clearing ground. Cooler temperatures reduce heat stress on workers and equipment, and ground conditions remain firm in most regions, supporting heavy machinery without the mud of spring or frozen challenges of winter.
Deciduous trees drop their leaves, improving visibility and making it easier to identify what needs clearing. Wildlife nesting seasons have ended, reducing environmental concerns. And contractors often offer better ground clearing rates during the fall, since demand typically decreases after the summer peak season.
Winter land clearing works exceptionally well in regions with frozen ground. The frozen conditions provide excellent support for heavy equipment and prevent the mud issues that plague spring projects. And snow cover can actually protect topsoil during clearing operations.
Dormant vegetation is easier to see and assess when you do your ground clearing in the winter months, and lower contractor demand often means better pricing. However, the downside is that shorter daylight hours limit daily productivity, and extreme cold can create equipment challenges.
Spring offers moderate temperatures and, once the ground firms up, good working conditions for land clearing. The season works well for projects that need completion before summer construction starts.
The main challenge of figuring out how to clear land in the spring comes from the wet and muddy conditions, especially during the early spring thaw. Equipment can get bogged down, and wet soil is more susceptible to compaction damage. Many regions also have nesting bird restrictions during spring that may limit when you can clear.
Summer provides dry ground conditions and long work days. Visibility through full foliage helps you see exactly what you’re clearing. This is peak season for land clearing, which often means higher contractor rates and longer wait times for scheduling.
That said, heat creates worker safety concerns and increases fire risk in dry regions, so if you’re trying to figure out how to clear land in a high-risk region, you’ll need to factor this in. Many areas implement burn bans during summer, eliminating controlled burning as an option for debris disposal.
At the end of the day, the best season for your land clearing project depends on your region, the ground clearing method you choose, and your timeline. In northern climates, late fall and winter often work best. Southern regions may find winter ideal for avoiding summer heat while maintaining good ground conditions.
The right equipment makes the difference between an efficient ground clearing project and a frustrating struggle. Your needs depend entirely on your chosen land clearing method and the size of your property.
Professional forestry mulchers are specialized machines that few landowners own. These units can run over $100,000 to purchase, making rental or contractor services the practical choice for most land clearing projects. Rental rates run $1,500-$5,000 per day, including an operator.
Skid steer mulching attachments offer a more accessible option for landowners who already own equipment.
Bulldozers are the workhorses of land clearing. For DIY projects, understanding what size tractor you need can help you determine if your existing equipment can handle the job or if you need to rent larger machinery.
A compact tractor with 25-50 horsepower works for light brush clearing with a bush hog attachment. Serious clearing requires larger dozers or excavators, which cost $1,200-$2,500 per day to rent with an operator.
Even when hiring professionals to clear your land, having basic equipment helps with site preparation and cleanup. A quality chainsaw runs $200-$800 depending on size and power. Safety gear is non-negotiable: chainsaw chaps ($50-$100), hard hat with face shield ($40-$80), safety glasses, steel-toe boots, and hearing protection.
For landowners considering living the rural ranch life, investing in basic land management equipment often makes financial sense. Land clearing is something you’ll likely spend a good bit of time doing. A good brush mower or bush hog attachment ($500-$3,000) handles ongoing maintenance after initial clearing.
Realistic budgeting is key to preventing surprises and can help you choose between DIY ground clearing efforts and hiring land clearing professional services. The reality is, land clearing costs vary widely based on your specific situation. We’ll explain the nuances you need to be aware of.
Professional land clearing averages $500-$8,000 per acre, depending on vegetation density and terrain. Light brush with few trees falls on the lower end at $500-$2,000 per acre. Moderate vegetation with mixed trees and undergrowth runs $2,000-$4,000 per acre. Heavy forest with large mature trees can reach $4,000-$6,000+ per acre.
These figures include basic clearing but often exclude extras like stump removal, debris hauling, grading, or erosion control measures.
Understanding how much ground clearing equipment like tractors and their attachment could cost you will help you determine whether you can feasibly go the DIY route or if hiring a professional land clearing service makes more sense. Forestry mulching services typically charge by the hour at $150-$300 or by the acre at $400-$2,500 depending on density of vegetation.
Traditional grubbing and dozing run higher at $1,500-$5,600 per acre but provide complete removal suitable for immediate construction. Cut and grind land clearing services fall in the middle at $1,000-$3,000 per acre.
Many landowners underestimate the expenses associated with land clearing (that aren’t the act of ground clearing itself). Take permits, for example. Permit fees to clear land range from $100-$500 in most areas, though some ground clearing projects requiring environmental assessments can reach several thousand dollars.
When determining how to clear land, you’ll also need to budget for debris disposal. This can add $500-$2,000+ if you plan to haul material off-site. Erosion control measures like silt fencing, seeding, and erosion blankets can run $300-$2,000 per acre. Grading and leveling, particularly relevant if you’re clearing land for construction, can cost another $1,500-$5,000 per acre.
Profitability Pro Tip: Some ground clearing projects generate revenue through timber sales, especially on properties with mature, valuable trees. This is why we often recommend having your timer assessed before beginning a ground clearing project, so you can offset some of the clearing costs (or even turn a profit) from the trees you have on your land.
It’s also worth noting, financing options exist for land clearing as part of larger development projects. Understanding how you can get a loan for land improvement can make hiring a professional ground clearing team more accessible.
Investment Pro Tip: For landowners considering whether investing in land is the right decision, remember that cleared, usable land typically commands 20-50% higher value than raw, overgrown property. The clearing cost should be viewed as value added rather than pure expense.
Let’s get into the weeds. Following a systematic land clearing process ensures efficient ground clearing while avoiding costly mistakes. Each step builds on the previous one for the best results.
Before any land clearing begins, thoroughly evaluate what you’re working with. Walk the entire property, noting tree sizes, vegetation density, terrain features, and any obstacles like rocks or old structures.
Identify and mark trees or features you want to preserve. Flagging tape in bright colors works well for communicating your intentions to equipment operators. Check for underground utilities by calling 811 several days before starting work.
Determine your clearing boundaries precisely. Property line disputes can create expensive problems, so verify your boundaries with existing survey markers or hire a surveyor if needed.
Create a basic site map showing access routes for equipment, areas to clear vs preserve, and where you’ll stage debris. This planning phase prevents confusion once work begins and ensures everyone working on your ground clearing project understands the scope.
Many jurisdictions require permits for land clearing, especially on larger properties or near waterways. Contact your local planning or building department to understand requirements specific to your area.
Common permit triggers include clearing more than a certain acreage, working near wetlands or streams, removing protected tree species, or any clearing on commercial properties. Permit costs typically run $100-$500 but vary widely.
Budget adequate time for permit processing, which can take 2-8 weeks, depending on your location, time of year, and project complexity. Working without required permits can result in stop-work orders, fines, and requirements to restore cleared areas, so don’t skip this step as you’re figuring out how to clear your. land.
Before tackling main clearing areas, establish access to your land for equipment. This might mean widening existing paths or creating temporary roads to reach your property’s interior.
Access routes need sufficient width for your largest equipment, typically 12-14 feet minimum. Remove low-hanging branches and ensure the path can support heavy machinery.
Set up a staging area near your property entrance for equipment parking and debris collection. Keep this area organized to maintain efficiency throughout your ground clearing project.
With preparation complete, actual land clearing can begin. We recommend working systematically, rather than randomly jumping around the property. Many ground clearing professionals start at one end and work progressively across, which keeps the project organized and makes it easier to track progress.
Stump removal decisions depend on your land’s future use. Building sites require complete removal, typically grinding 8-12 inches below grade or deeper if constructing over the area.
Pasture or recreational land often works fine with stumps ground flush to the surface. The remaining roots gradually decay and actually help prevent erosion on slopes.
Ground Clearing Pro Tip: Stump grinding creates wood chips you can spread as mulch or remove from the site.
How you handle cleared vegetation significantly impacts the cost and timeline of your land clearing project. Forestry mulching eliminates this concern by leaving material as beneficial ground cover.
Meanwhile, other methods generate substantial debris requiring disposal. Options include on-site burning where permitted, hauling to disposal facilities, or chipping for mulch. Each approach for how you get rid of debris after you clear your land will have different cost and regulatory implications.
Regardless of disposal method, implementing erosion control immediately protects your property. Bare soil erodes dramatically faster than vegetated ground, especially on slopes or in areas with significant rainfall.
We recommend installing silt fencing along downslope edges to catch sediment that does erode. Spread mulch or straw across bare areas. Seed cleared ground within days if possible, using fast-growing cover crops that stabilize soil while you plan permanent vegetation.
Most cleared land needs some grading to create proper drainage and usable space. Even slight grading makes a significant difference in how water moves across your property.
Maintain at least a 2% slope for drainage, directing water away from building sites and toward stable outlets. Fill low spots that might collect water and create problematic wet areas.
Grading also smooths the surface, removing ruts from equipment and creating level areas for structures or activities. Professional grading runs $1,500-$5,000 per acre, depending on complexity.
Save topsoil when possible by stockpiling it before grading, then spreading it back over the finished grade. This preserves valuable organic material and soil biology that help establish vegetation.
Cleared land needs revegetation to prevent erosion and support your intended use. The approach you take will ultimately depend on your goals.
Seeding costs vary from $300-$1,500 per acre including seed, fertilizer based on soil tests, and application. Water if possible during establishment, though many rural properties rely on natural rainfall.
First-year maintenance includes mowing to prevent weeds from going to seed, monitoring for erosion issues, and reseeding thin areas. This ongoing care ensures your cleared land remains in good condition and continues improving rather than reverting to overgrown conditions.
One of the biggest decisions when figuring out how to clear land is determining whether to tackle it yourself or hire ground clearing professionals. Both approaches have merit, depending on your specific situation.
Small properties under one acre with light vegetation are often the best suited for the DIY route, especially if you own or can borrow suitable ground clearing equipment. Projects where you have flexible timelines and enjoy physical outdoor work can save substantial money with DIY clearing.
The key requirements are physical capability for demanding work, mechanical aptitude for operating land clearing equipment safely, and realistic time expectations. A quarter-acre weekend project can easily stretch into months of work when dealing with anything more than light brush.
Properties over two acres with moderate to heavy vegetation almost always justify professional land clearing services. The time and equipment investment for DIY ground clearing quickly exceeds professional costs on larger projects.
Safety concerns around large trees, especially near structures or utilities, really make professional expertise the better route. One mistake felling a large tree can cause property damage or injuries far exceeding contractor costs.
Regulatory requirements often specify licensed contractors for certain types of clearing, particularly near wetlands or in areas with protected species. Projects with tight timelines for construction or development rarely allow for DIY approaches that take months to complete.
Choosing the right contractor for your land clearing project ultimately starts with verifying licensing and insurance. Request proof of both general liability and workers’ compensation coverage. Contractors working without proper insurance create enormous liability risks if someone is injured on your property.
Get at least three detailed quotes that specify exactly what’s included. Vague quotes or significant price differences between contractors warrant careful scrutiny.
Check references from recent similar ground clearing projects. Speaking directly with past customers reveals how contractors handle challenges, communicate during work, and stand behind their results.
Red flags include contractors who won’t provide written quotes, demand large upfront payments, can’t show insurance certificates, or pressure you to sign immediately. Quality contractors understand land clearing is a significant investment and give you time to make informed decisions.
For landowners looking into buying a ranch property, establishing relationships with reputable land clearing contractors provides long-term value. These professionals often handle multiple aspects of land management beyond initial clearing.
It’s also important that you and your contractor understand the nuances of surface rights vs mineral rights matters when planning extensive clearing, as some subsurface rights agreements may restrict surface alterations. Review all property rights documentation before committing to large-scale land clearing projects.
The work doesn’t end when the last tree falls. How you manage newly cleared land in the following months determines whether your investment thrives or requires expensive remediation.
Soil Health And Testing: Land clearing disrupts soil biology and structure. Testing soil pH, nutrients, and organic matter levels provides a baseline for amendments. Most county extension services offer inexpensive soil testing, or you can use home test kits for basic information.
Common amendments after clearing include lime to raise pH in acidic soils, organic matter to improve structure and water retention, and fertilizers to replace depleted nutrients. Apply amendments based on test results and your intended land use rather than guessing.
Preventing Invasive Species: Disturbed soil (often inevitable with land clearing) creates ideal conditions for invasive weeds and plants. These species often outcompete desirable vegetation, creating ongoing management headaches.
Quick establishment of intended vegetation is your best defense. Dense ground cover from pasture grasses, native plants, or cover crops leaves little room for invasives to establish.
Monitor cleared areas regularly during the first year, addressing invasive species while they’re small and manageable. Hand removal, spot herbicide treatment, or mowing before seed set all help control problems before they become overwhelming.
Maintaining Drainage And Erosion Control: Initial erosion control measures need monitoring and maintenance, especially after heavy rains. Check silt fencing for gaps or damage. Repair any erosion gullies immediately before they expand.
Drainage patterns may change as vegetation establishes and soil settles. You’ll want to walk the property after significant rainfall to identify any new problem areas requiring attention.
Planning For Structures And Development: For landowners who have cleared land with future building in mind, maintaining those cleared areas during planning and permitting phases prevents vegetation from reclaiming your work.
Periodic mowing or bush hogging keeps brush from returning. This ongoing maintenance is far less expensive than re-clearing overgrown areas when you’re ready to build.
Consider implementing your land clearing in phases if development will take several years. Clear only the ground you’ll use within 1-2 years, then expand as needed. This approach reduces maintenance costs and environmental impact of your ground clearing initiatives.
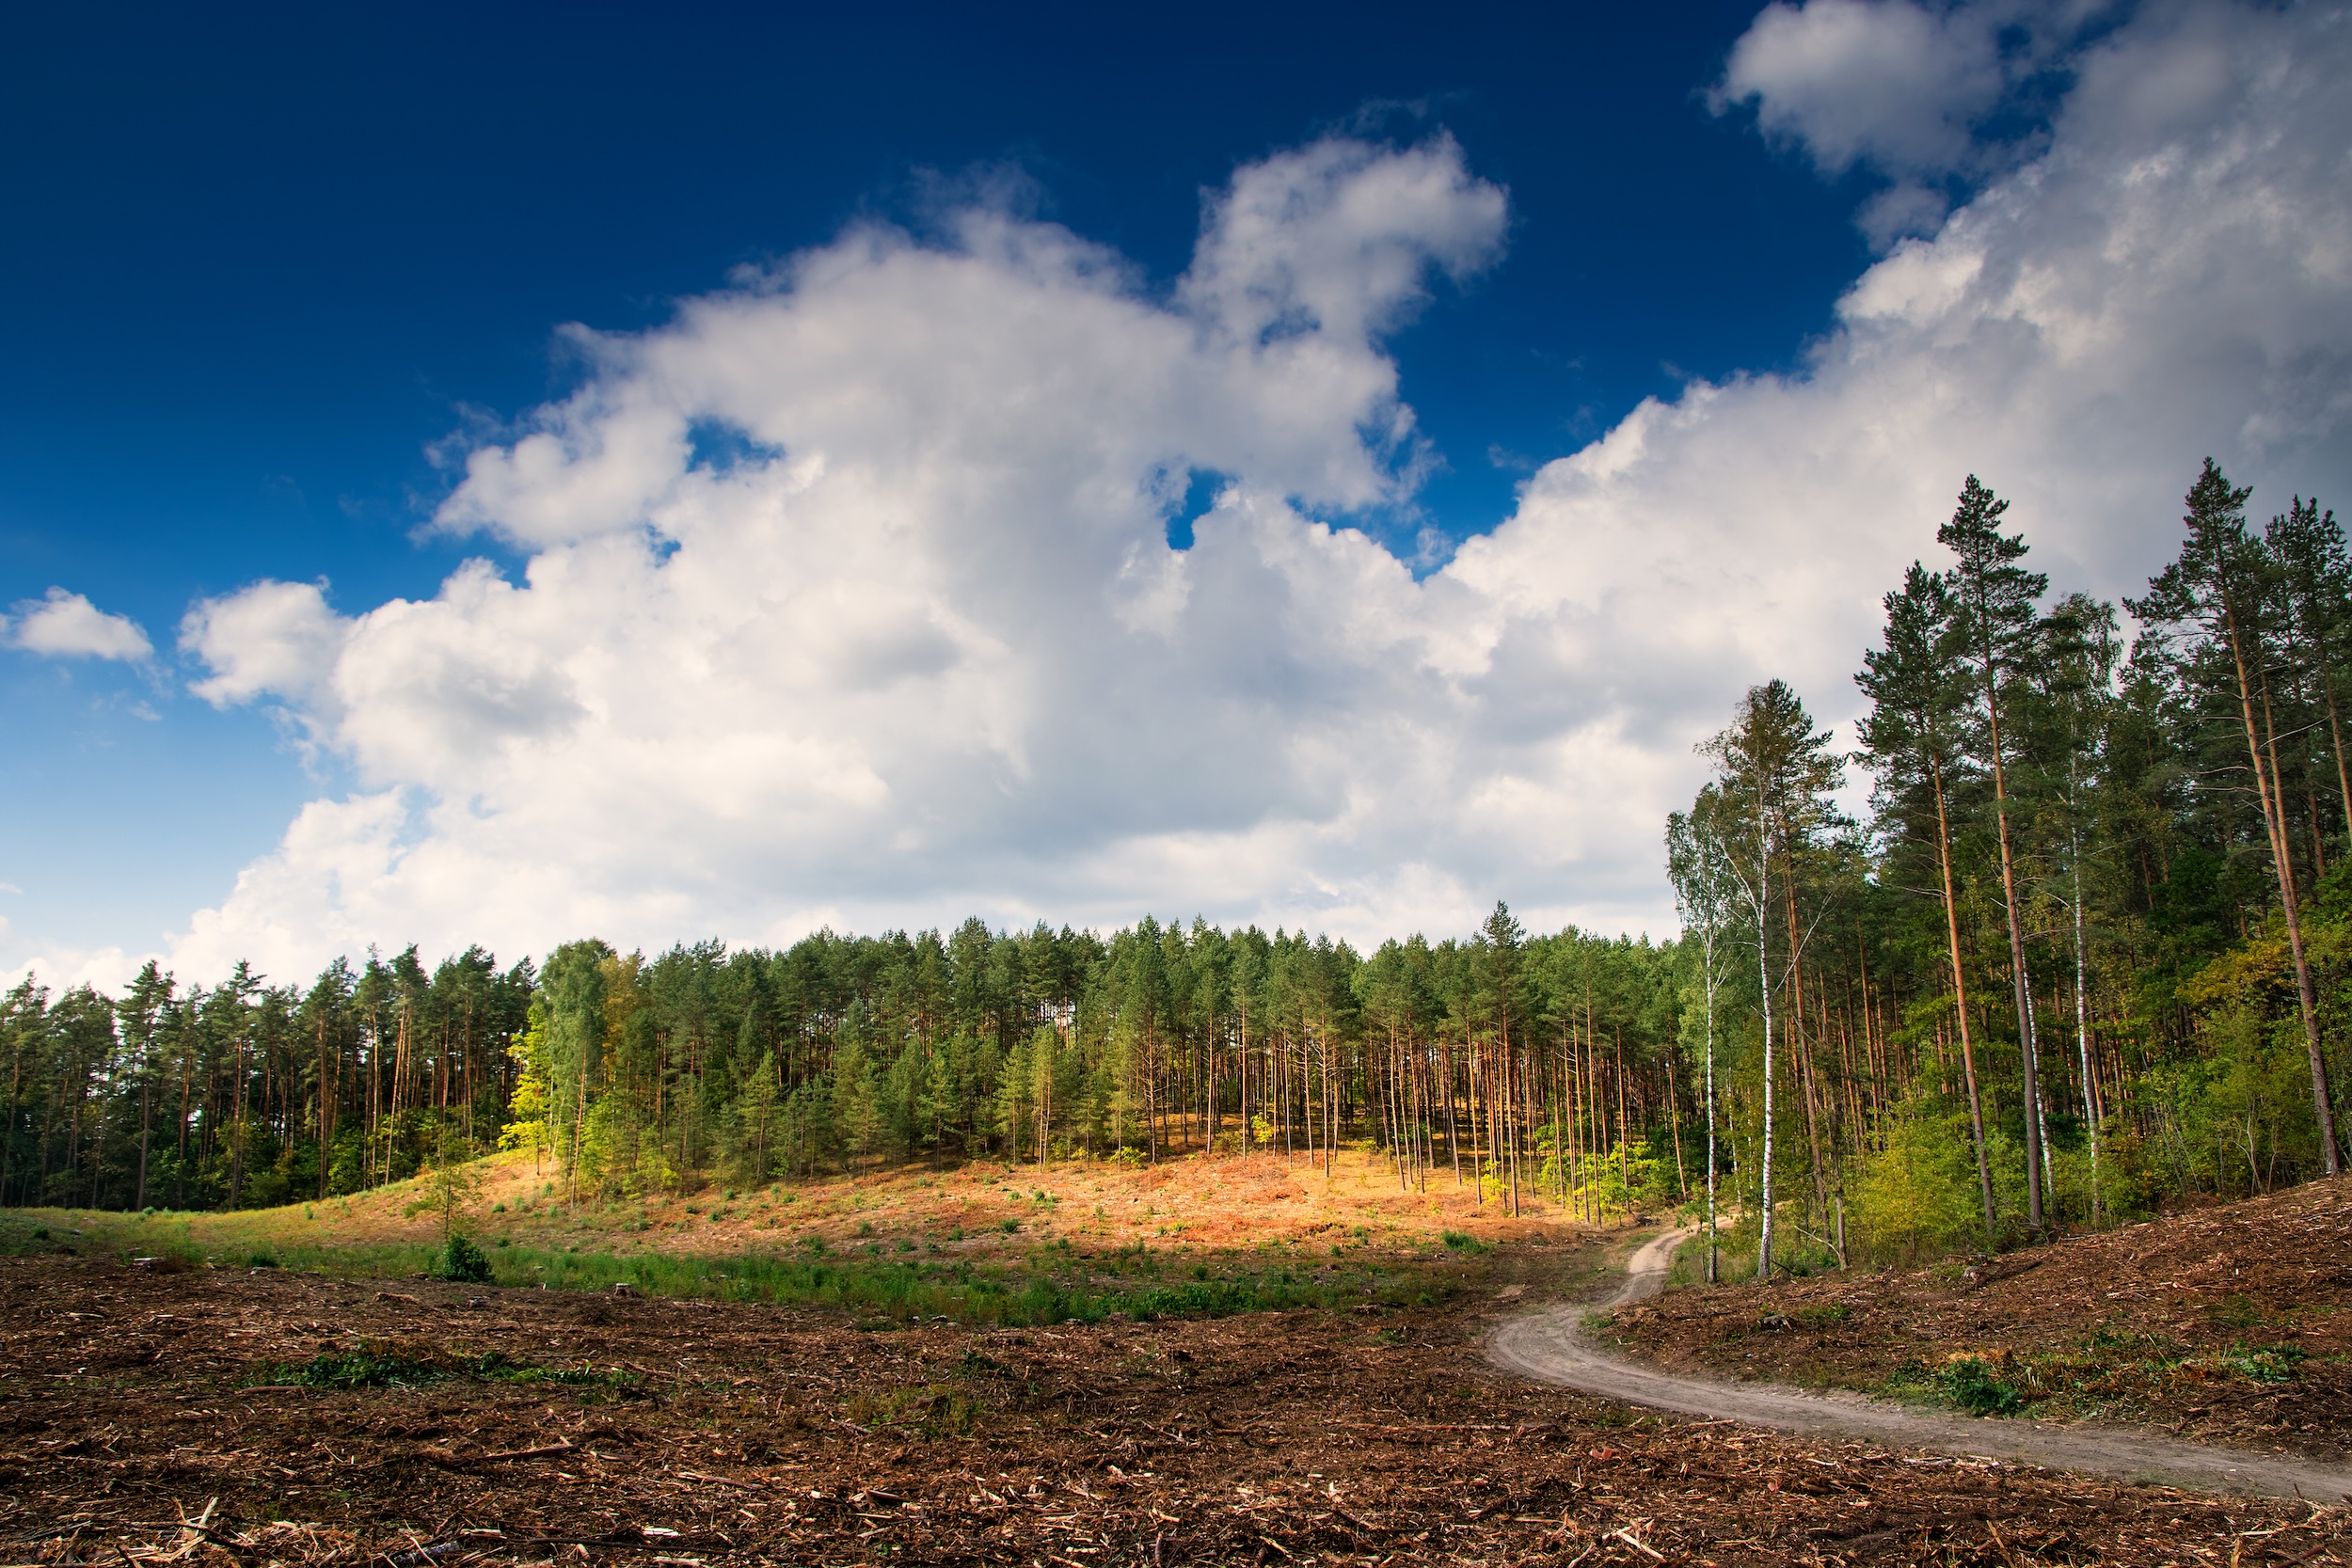
Learning how to clear land effectively requires balancing immediate the immediate needs of your project with long-term land health. The right approach depends on your specific property, goals, timeline, and budget. Let’s do a quick recap.
Whether you’re preparing a homesite, creating agricultural land, or developing recreational property, the principles of effective land clearing remain constant: plan thoroughly, choose appropriate methods, execute systematically, and maintain consistently. And if you’re still on the hunt for the perfect land to clear for your next project, our land pros at Hayden Outdoors are here to help you find your perfect plot.